Accessing your project workspace
How to activate and launch your project workspace
Launch your project workspace
To enter your SEAD project workspace you need to:
Activate your virtual machine
Each project Virtual Machine (VM) is displayed on individual tiles, with your “Active” VM appearing at the top above those that are “Locked”. For more information about your VMs, refer to Functions in my projects.
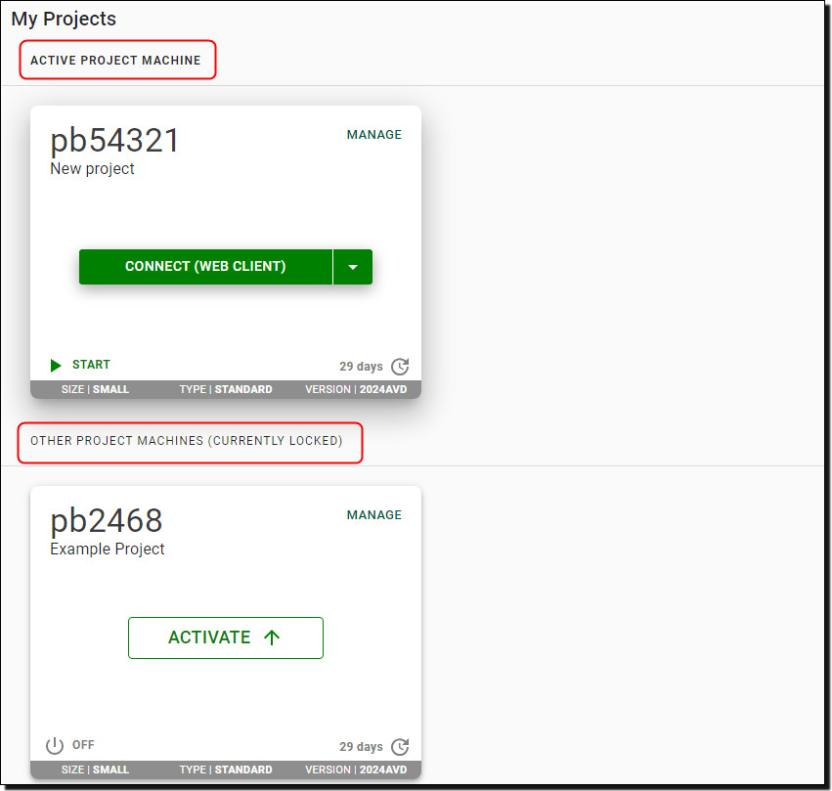
Each project has a separate VM and you can only access one project VM at a time. If your machine is already available to launch, skip to Launch your virtual machine.
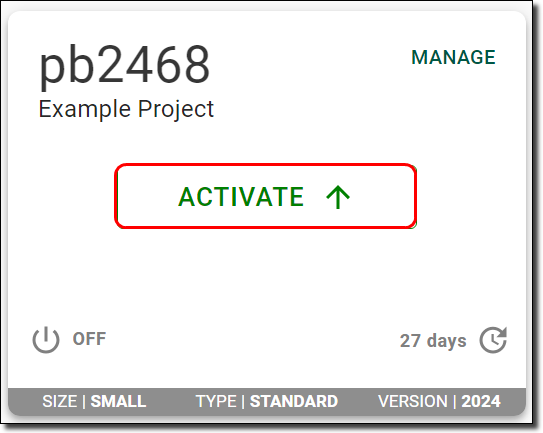
- If not, click the ‘Activate' button as shown below and wait until the ‘Connect’ button appears.
- If your machine shows a status other than ‘Connect’ or ‘Activate’ you must rebuild the VM first. See Virtual machine management options for more information.
Click on the ‘Activate’ button of the VM you want to launch.
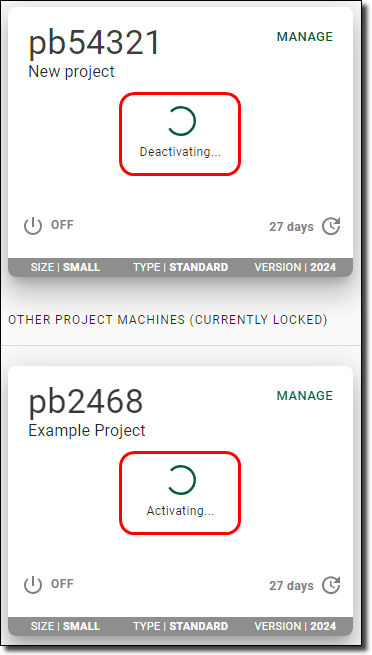
If you have a VM for another project that is currently active, this logs you out of your other session. If you have a program running in your workspace using another VM, this will stop the program. You can only run multiple VMs if you have requested to use offline local disk space.
Launch your virtual machine
Azure Virtual Desktop (AVD)
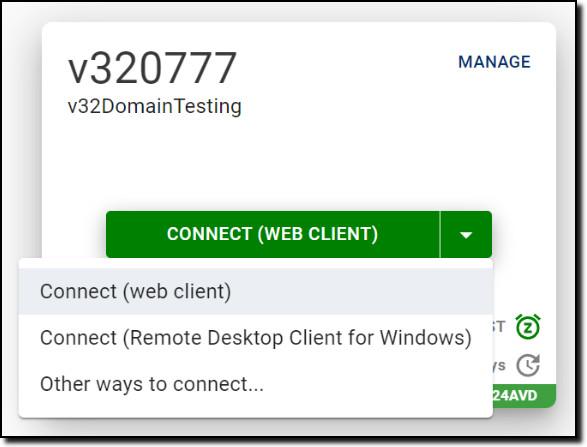
Launch the VM by clicking the ‘Connect’ button on the active VM tile.
Before launch, you can choose your preferred connection type from the drop-down menu. AVD offers the option to select between a web browser experience (which will soon be removed) or a downloaded application (via the ‘Remote Desktop client’). Due to the upcoming removal of the web browser option, we highly recommend installing the Windows or macOS Remote Desktop client, or having your organisation do so.
Note: If you want to use multi-screen functionality, we advise you connect via the 'Remote Desktop Client' for Windows version. This version may also improve connection stability and VM screen resolution.
Image
Description
This image shows three options from the drop-down menu when selecting ‘Connect’ to launch your AVD VM. The first option is “Connect (web client)”, the second is “Connect (Remote Desktop Client for Window)”, and the third option is for “Other ways to connect”, which will bring up another menu to show other launch options.
AVD web client (decommissioning in 2025)
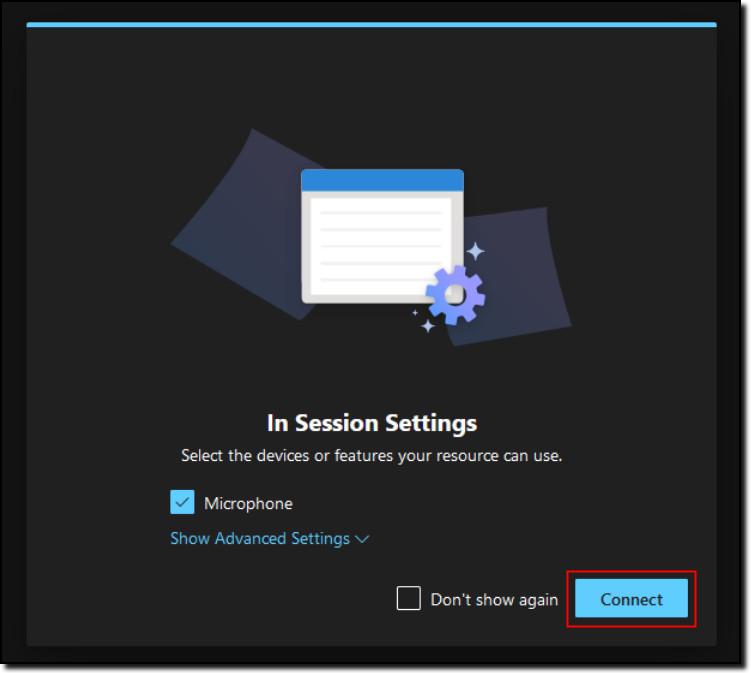
If you are connecting to the 'web client' version of AVD, a new browser page will launch, showing the settings screen below. This window may have slightly different options for each device. There is no need to change any of these settings. Press ‘Connect’ to continue.
Note: Due to the upcoming removal of the web browser option, we highly recommend installing the Windows or macOS Remote Desktop client, or having your organisation do so.
You will then be asked to log into your VM using your SEAD credentials. Once you have entered your credentials, click 'Sign In'.

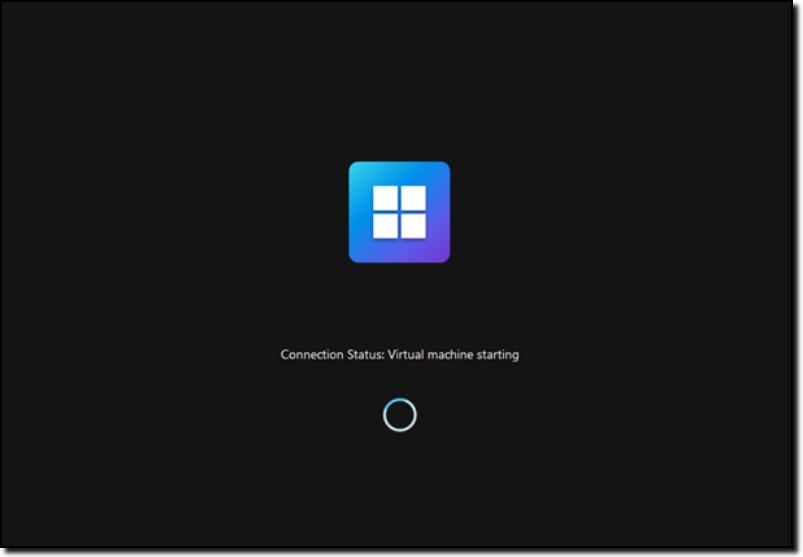
After a successful login, you will see the below loading screen.
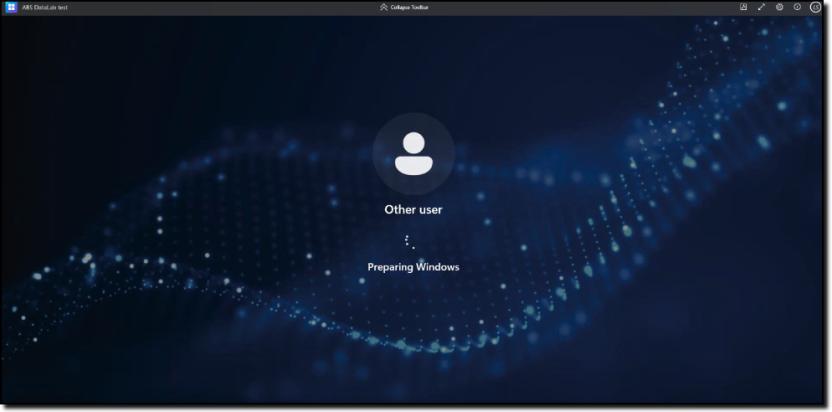
Your VM will then prepare Windows for you.
You should now have access to your VM within a browser window. For more information on using the workspace, refer to Navigating your project workspace.
Note: You may see an upload button in the toolbar which, intentionally, does not work. You may encounter a success message after uploading but you will not be able to retrieve any files that you have uploaded. If you wish to upload data or packages to SEAD, please Contact us.

Connect 'Remote Desktop Client for Windows'
If you are connecting to the 'Remote Desktop Client' version of AVD, contact your SEAD administrators to ensure that your IT department has enabled the correct networking addresses.
If you intend to use the 'Remote Desktop client' on your organisation's workspace, your internal IT department will need to make it available to you.
The latest version of 'Remote Desktop client (MSI)' for Windows, ensuring you select the 'MSI' version is available here and for Macintosh is available here.
Note: For the windows version of the Remote Desktop client, the only supported version is the ‘MSI’ version. Other versions, including the Microsoft store version, are not supported and may lead to issues with launching and connecting with your VM.
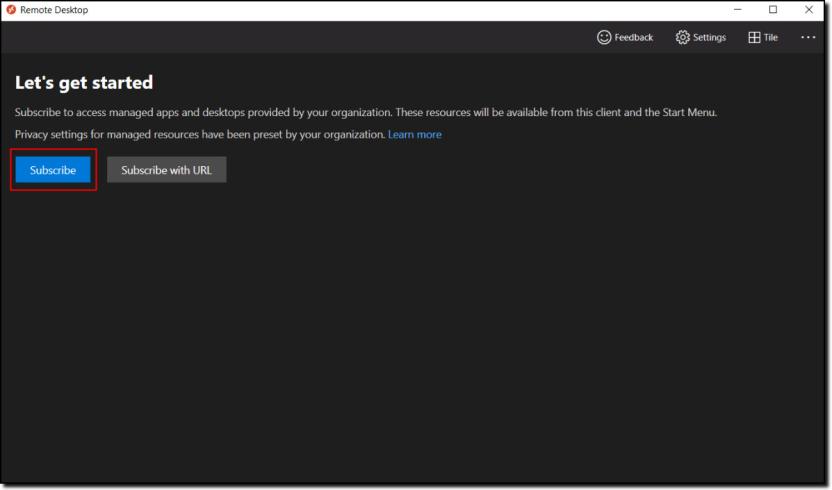
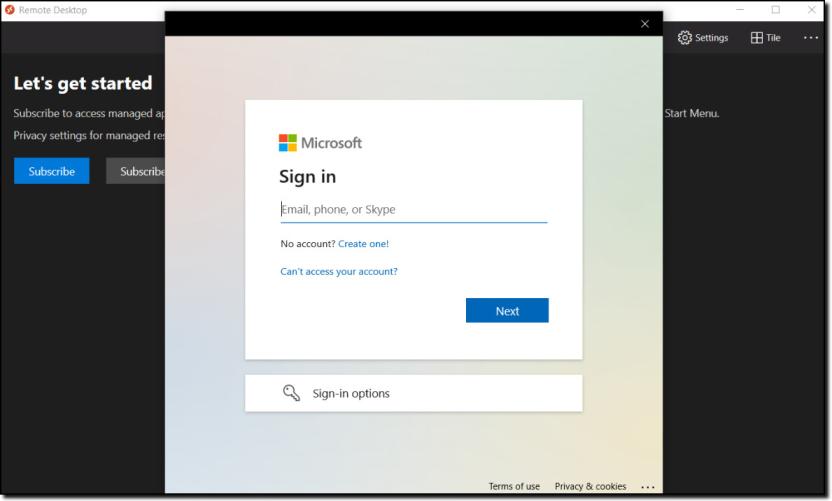
Once you have access and have started the application, click ‘Subscribe’ as shown below.
You will then be shown a new window that allows you to log into your SEAD account using your SEAD credentials.
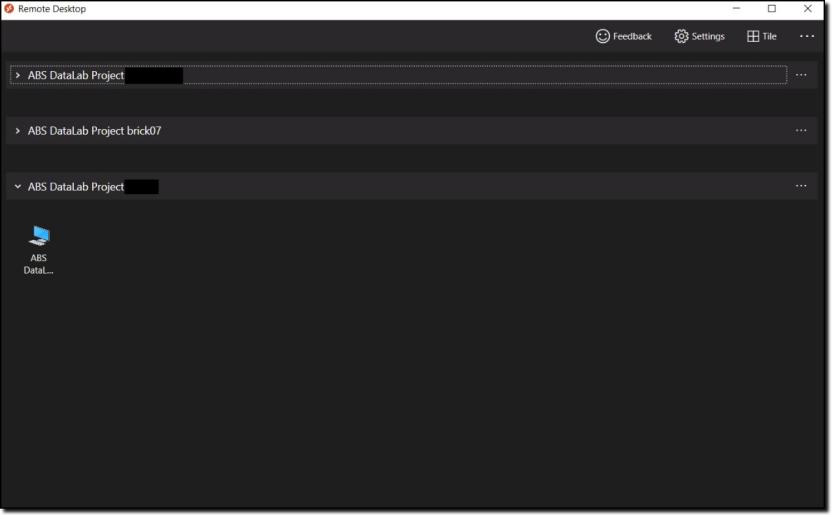
Upon a successful login, you will be shown all your available VMs. If you can’t see the VM that you want, it may be dormant and would require a rebuild.
If you have access to multiple projects you may be shown multiple tabs, one for each project as shown in the image below.
Note: If you wish to use multi-display, right click on your VM icon, click ‘Settings’, and turn off ‘Use default settings’. You should now see options for how you would like to display your VM.
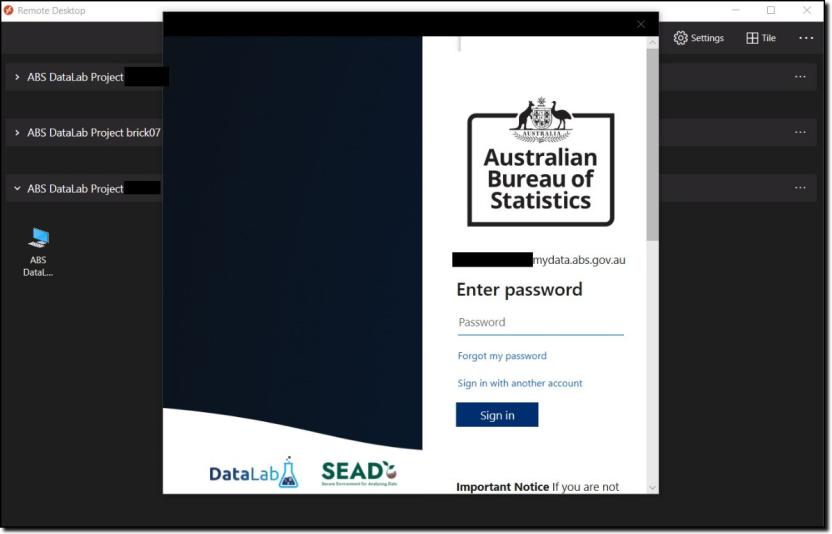
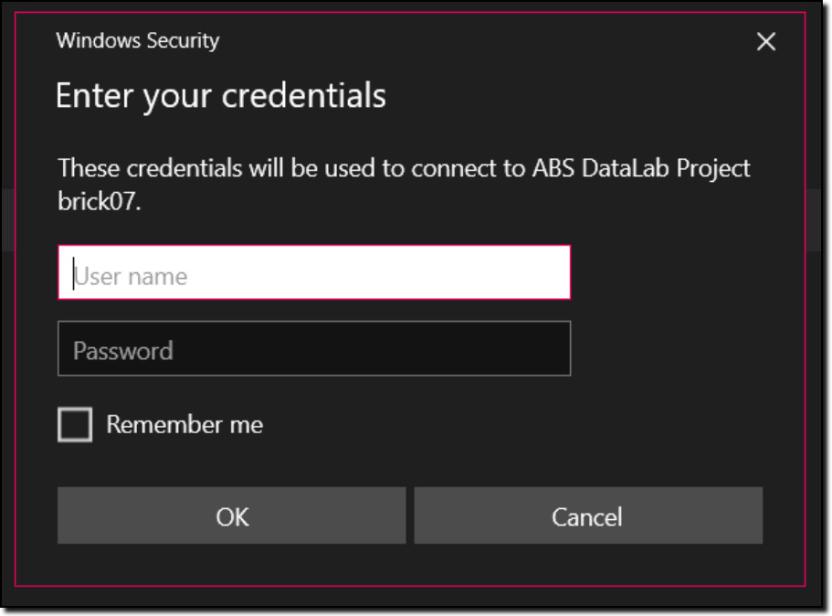
Click into one of the computer icons and you will be taken to a login screen to reconfirm your identity, before access is granted to enter your VM. This may not appear if you have recently logged in, through a similar window.
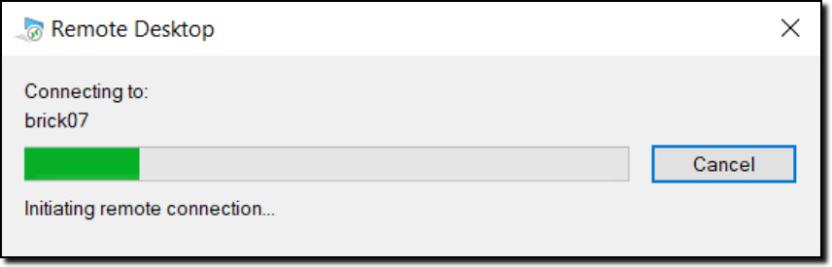
The below loading bar should briefly appear.
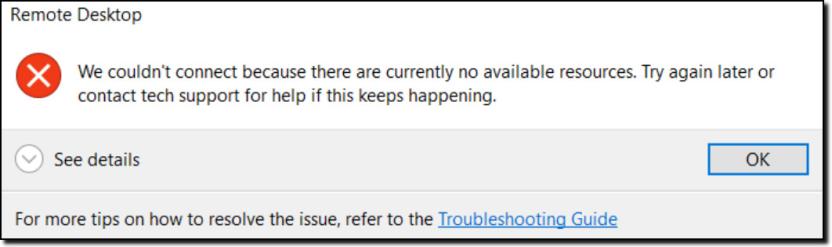
If, instead of the second login prompt, you receive a message as shown in the below image, then either your machine is not the active machine or it is not using the version ‘2025’ or similar. If your desktop session does not start, repeat step 1 to Activate your virtual machine and check that the version at the bottom of your VM says ‘2025’ or similar.
Image
Description
Error message that reads:
"We couldn't connect because there are currently no available resources. Try again later or contact tech support for help if this keeps happening."
You will then be presented with another login screen for the VM itself.
By logging in you agree to these conditions:
Image

Description
Important Notice
If you are not authorised to access this system, exit immediately. Unauthorised users may be subject to criminal and civil penalties.
This is an Australian Government computer system. Part 10.7 of the Criminal Code Act 1995 outlines the penalties that may apply for unlawful use of Government systems including unauthorised access, modification or impairment of computer systems, data or electronic communications. The Act provides penalties of up to 10 years imprisonment for such offences. By proceeding, you are representing yourself as an authorised user and acknowledge you have read and agree to comply with the Responsible Use of ABS Microdata User Guide. Your activity will be logged, monitored and investigated should any misuse be suspected.
Sanctions ranging from a reprimand to revocation of access or termination of employment may be imposed if misuse is determined.
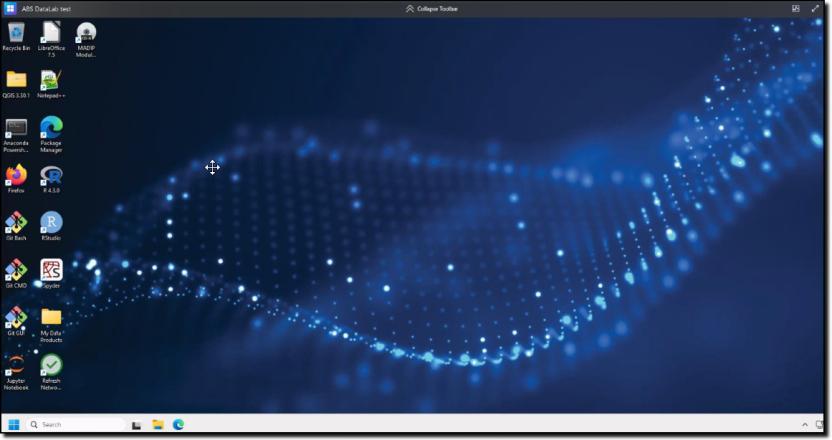
You should then have a new window open on your computer with your VM desktop open.
For more information on navigating the workspace, refer to Navigating your project workspace.
Note: VMs continue to incur running costs if the VM has not been stopped, even when not in use. The ABS recommends users shut down their machine during periods of inactivity to avoid unintended charges. Disconnecting, or closing your machine window, is insufficient. VMs are required to be shut down completely as per the VM management options to avoid continued running costs.
Connect using ‘Microsoft Remote Desktop client for macOS’ option
If you are connecting to the 'Remote Desktop client' version of AVD, ensure that your IT department has enabled the correct networking addresses. Contact your SEAD administrator for more information.
Download the Microsoft Remote Desktop client from the Mac App Store.
Note: If you intend to use the 'Remote Desktop client' on your organisation's workspace, you will need to contact your internal IT department to make it available to you.
Once you have downloaded and opened the application. Proceed to "Add workspace" from the Connection Centre.
You will need to type in ‘client.wvd.microsoft.com’ (without quotes) and that will take you to a Microsoft login page where you can then add your myDATA credentials (e.g., user.name@mydata.abs.gov.au).
From there you should be able to see your virtual machines. You will still need to ‘activate’ the machine you wish to use in the SEAD Portal.